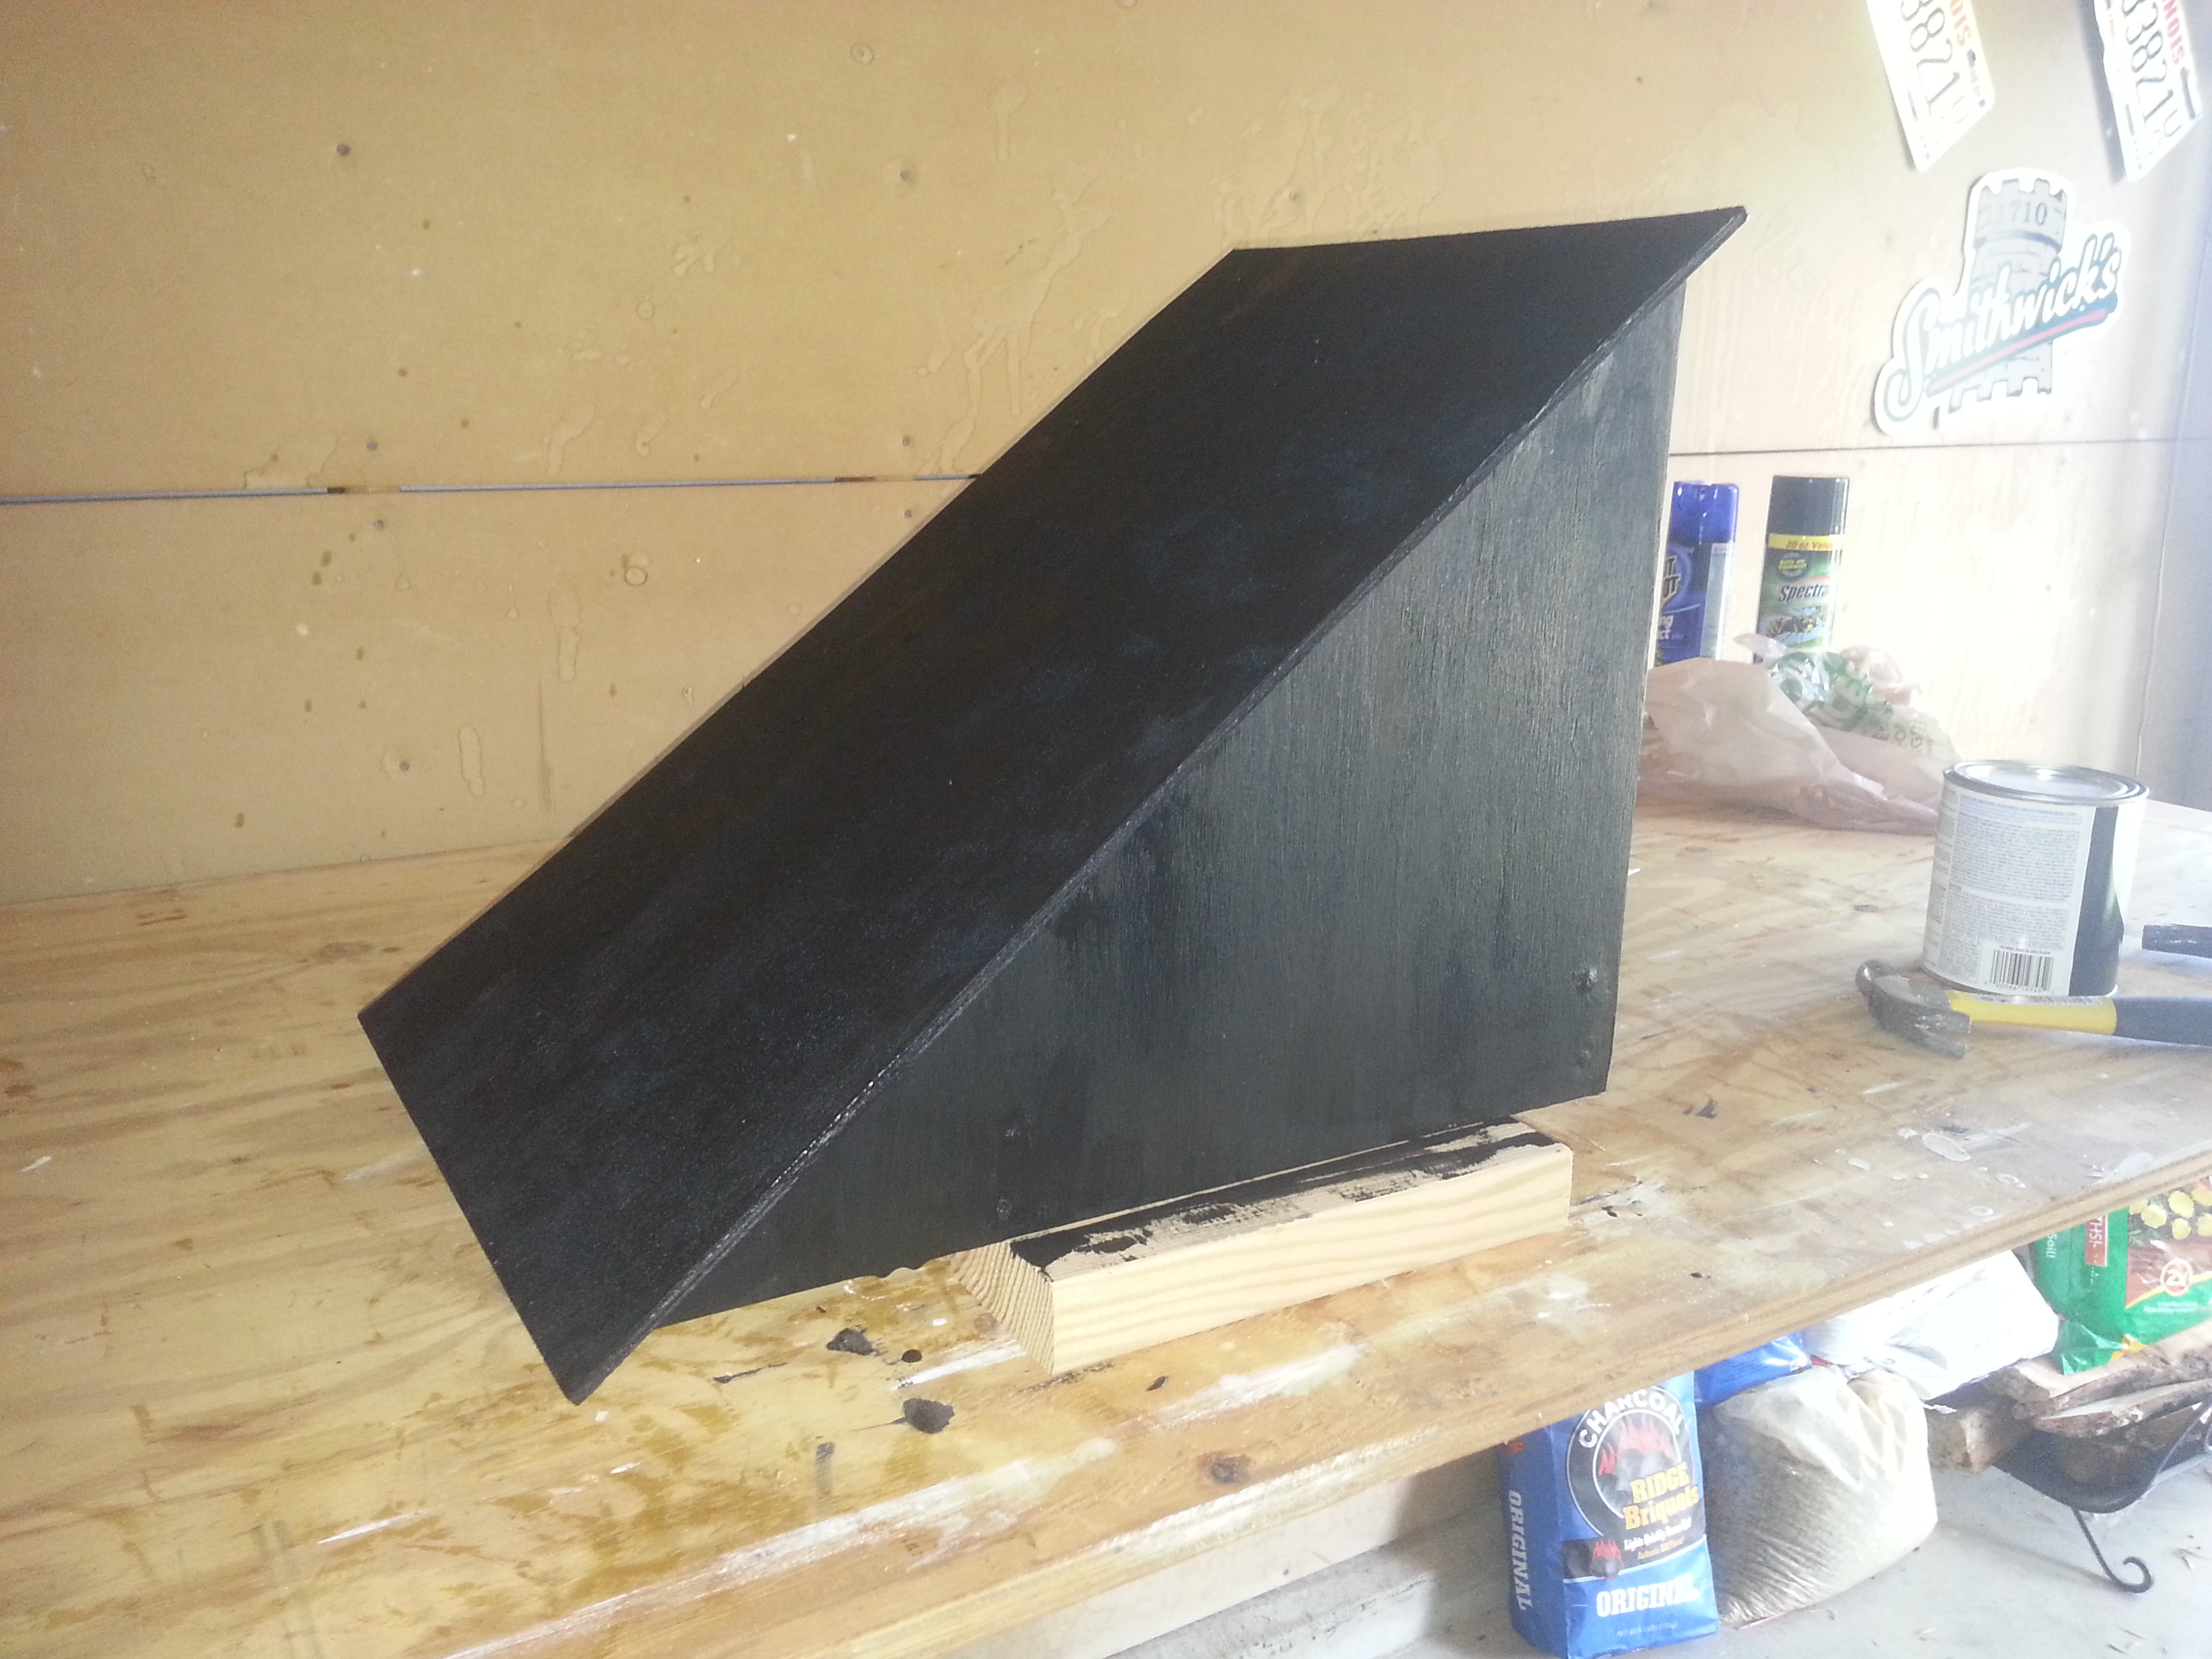
Since Meeka’s back incident, she has not been allowed to climb stairs or leap off and on furniture. Because of this, she’s been mostly limited to the downstairs, and when shes upstairs, she has to be supervised every second because she feel perfectly capable of getting on and off the couch on a whim. I decided to get her a ramp, because I’d really like to hang out with my dog without being unable to get up from the couch for five seconds because she might decide to jump.
After trying several different pet supply stores and failing to find a suitable one (they sell pet stairs, but she’s not supposed to do stairs..) I resorted to building. I also decided to use upholstery for traction instead of sticking a piece of carpet on it, because carpet is ugly, and I have some cool fabric with gryphons on it.
I’ll not bother posting the building process, as most people can figure out how to build a ramp, and also because despite that fact I made a bit of a mistake, which I’ll address later. But the upholstery was slightly less straight forward, and basically an experiment that turned out well, so that process is below:
First of all – supplies used for this project were: a ramp; about a half a yard of gryphon fabric; staples and a stapler (the shop kind not the office kind), upholstery tacks, a small amount of sheet batting, about a quarter of a package of fiberfill stuffing, and a glue gun. Yes, I used that bastion of impermanent crafting, the glue gun.
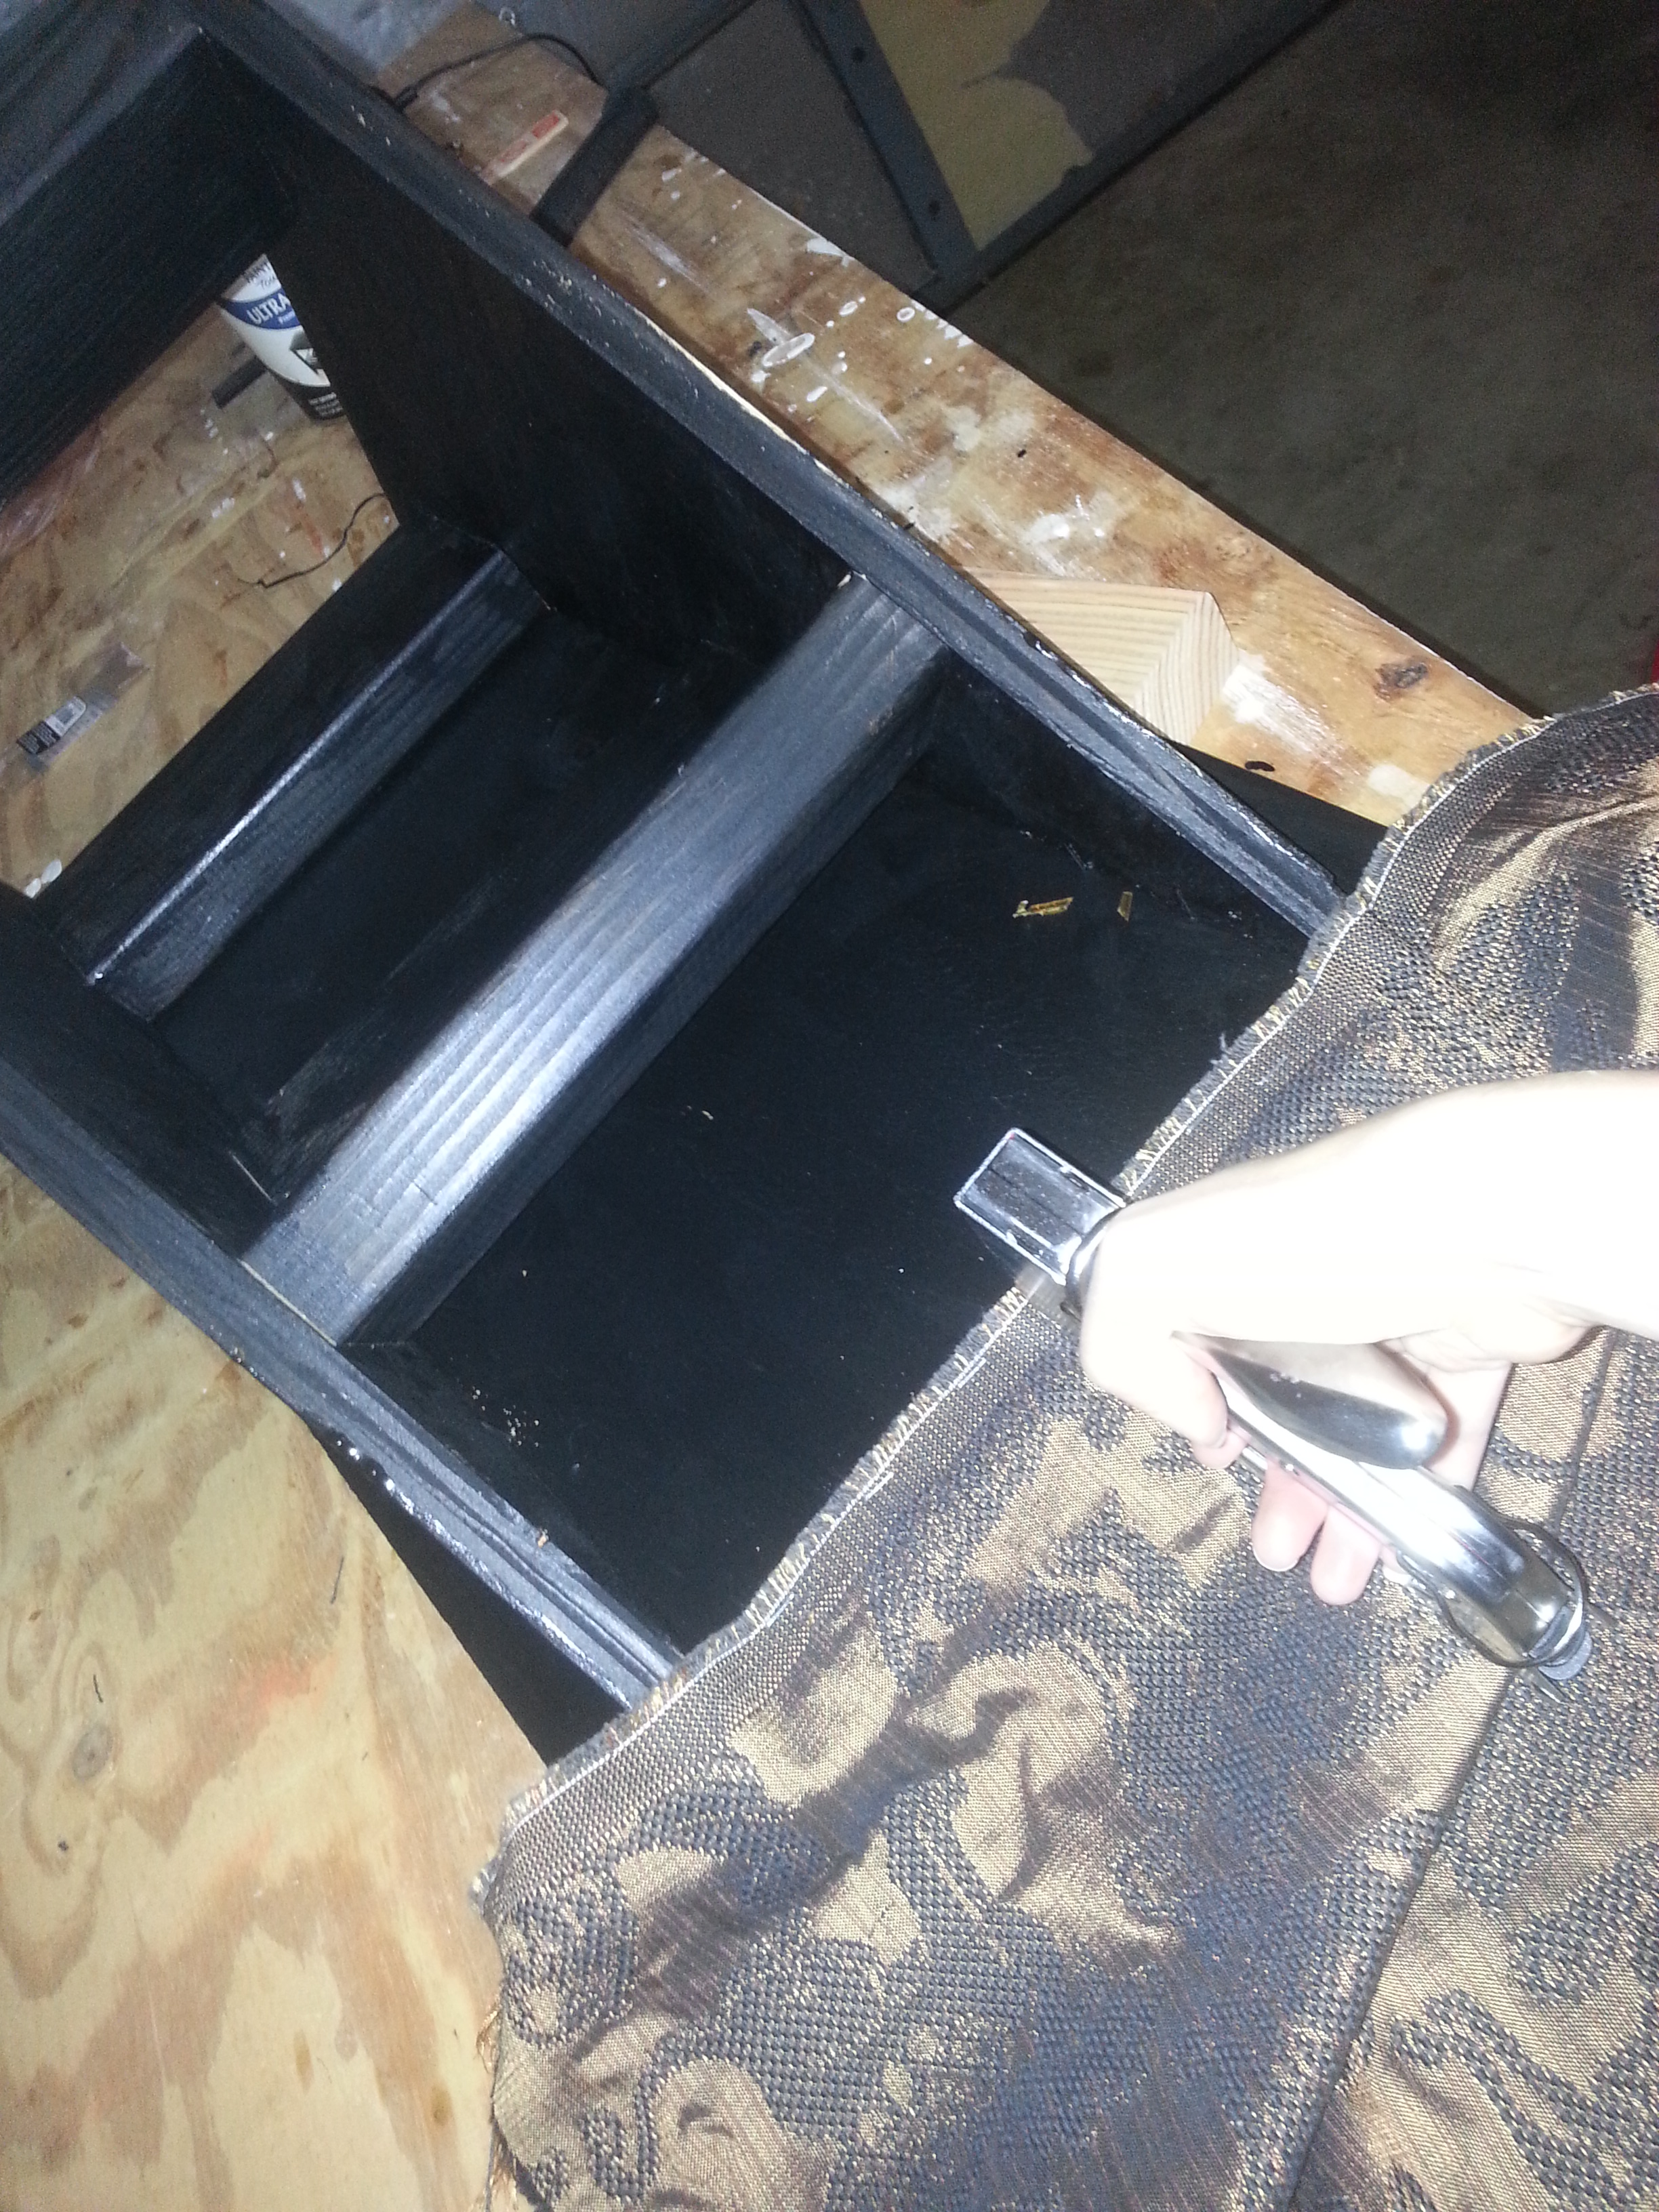
Step 1: Attach the fabric to the lower edge of the ramp. Flip the ramp over, and staple the fabric (right side up) to the ramp’s lower edge. I had a selvage edge, so I didn’t fold the fabric edge under; if it would have been a cut edge I would have.

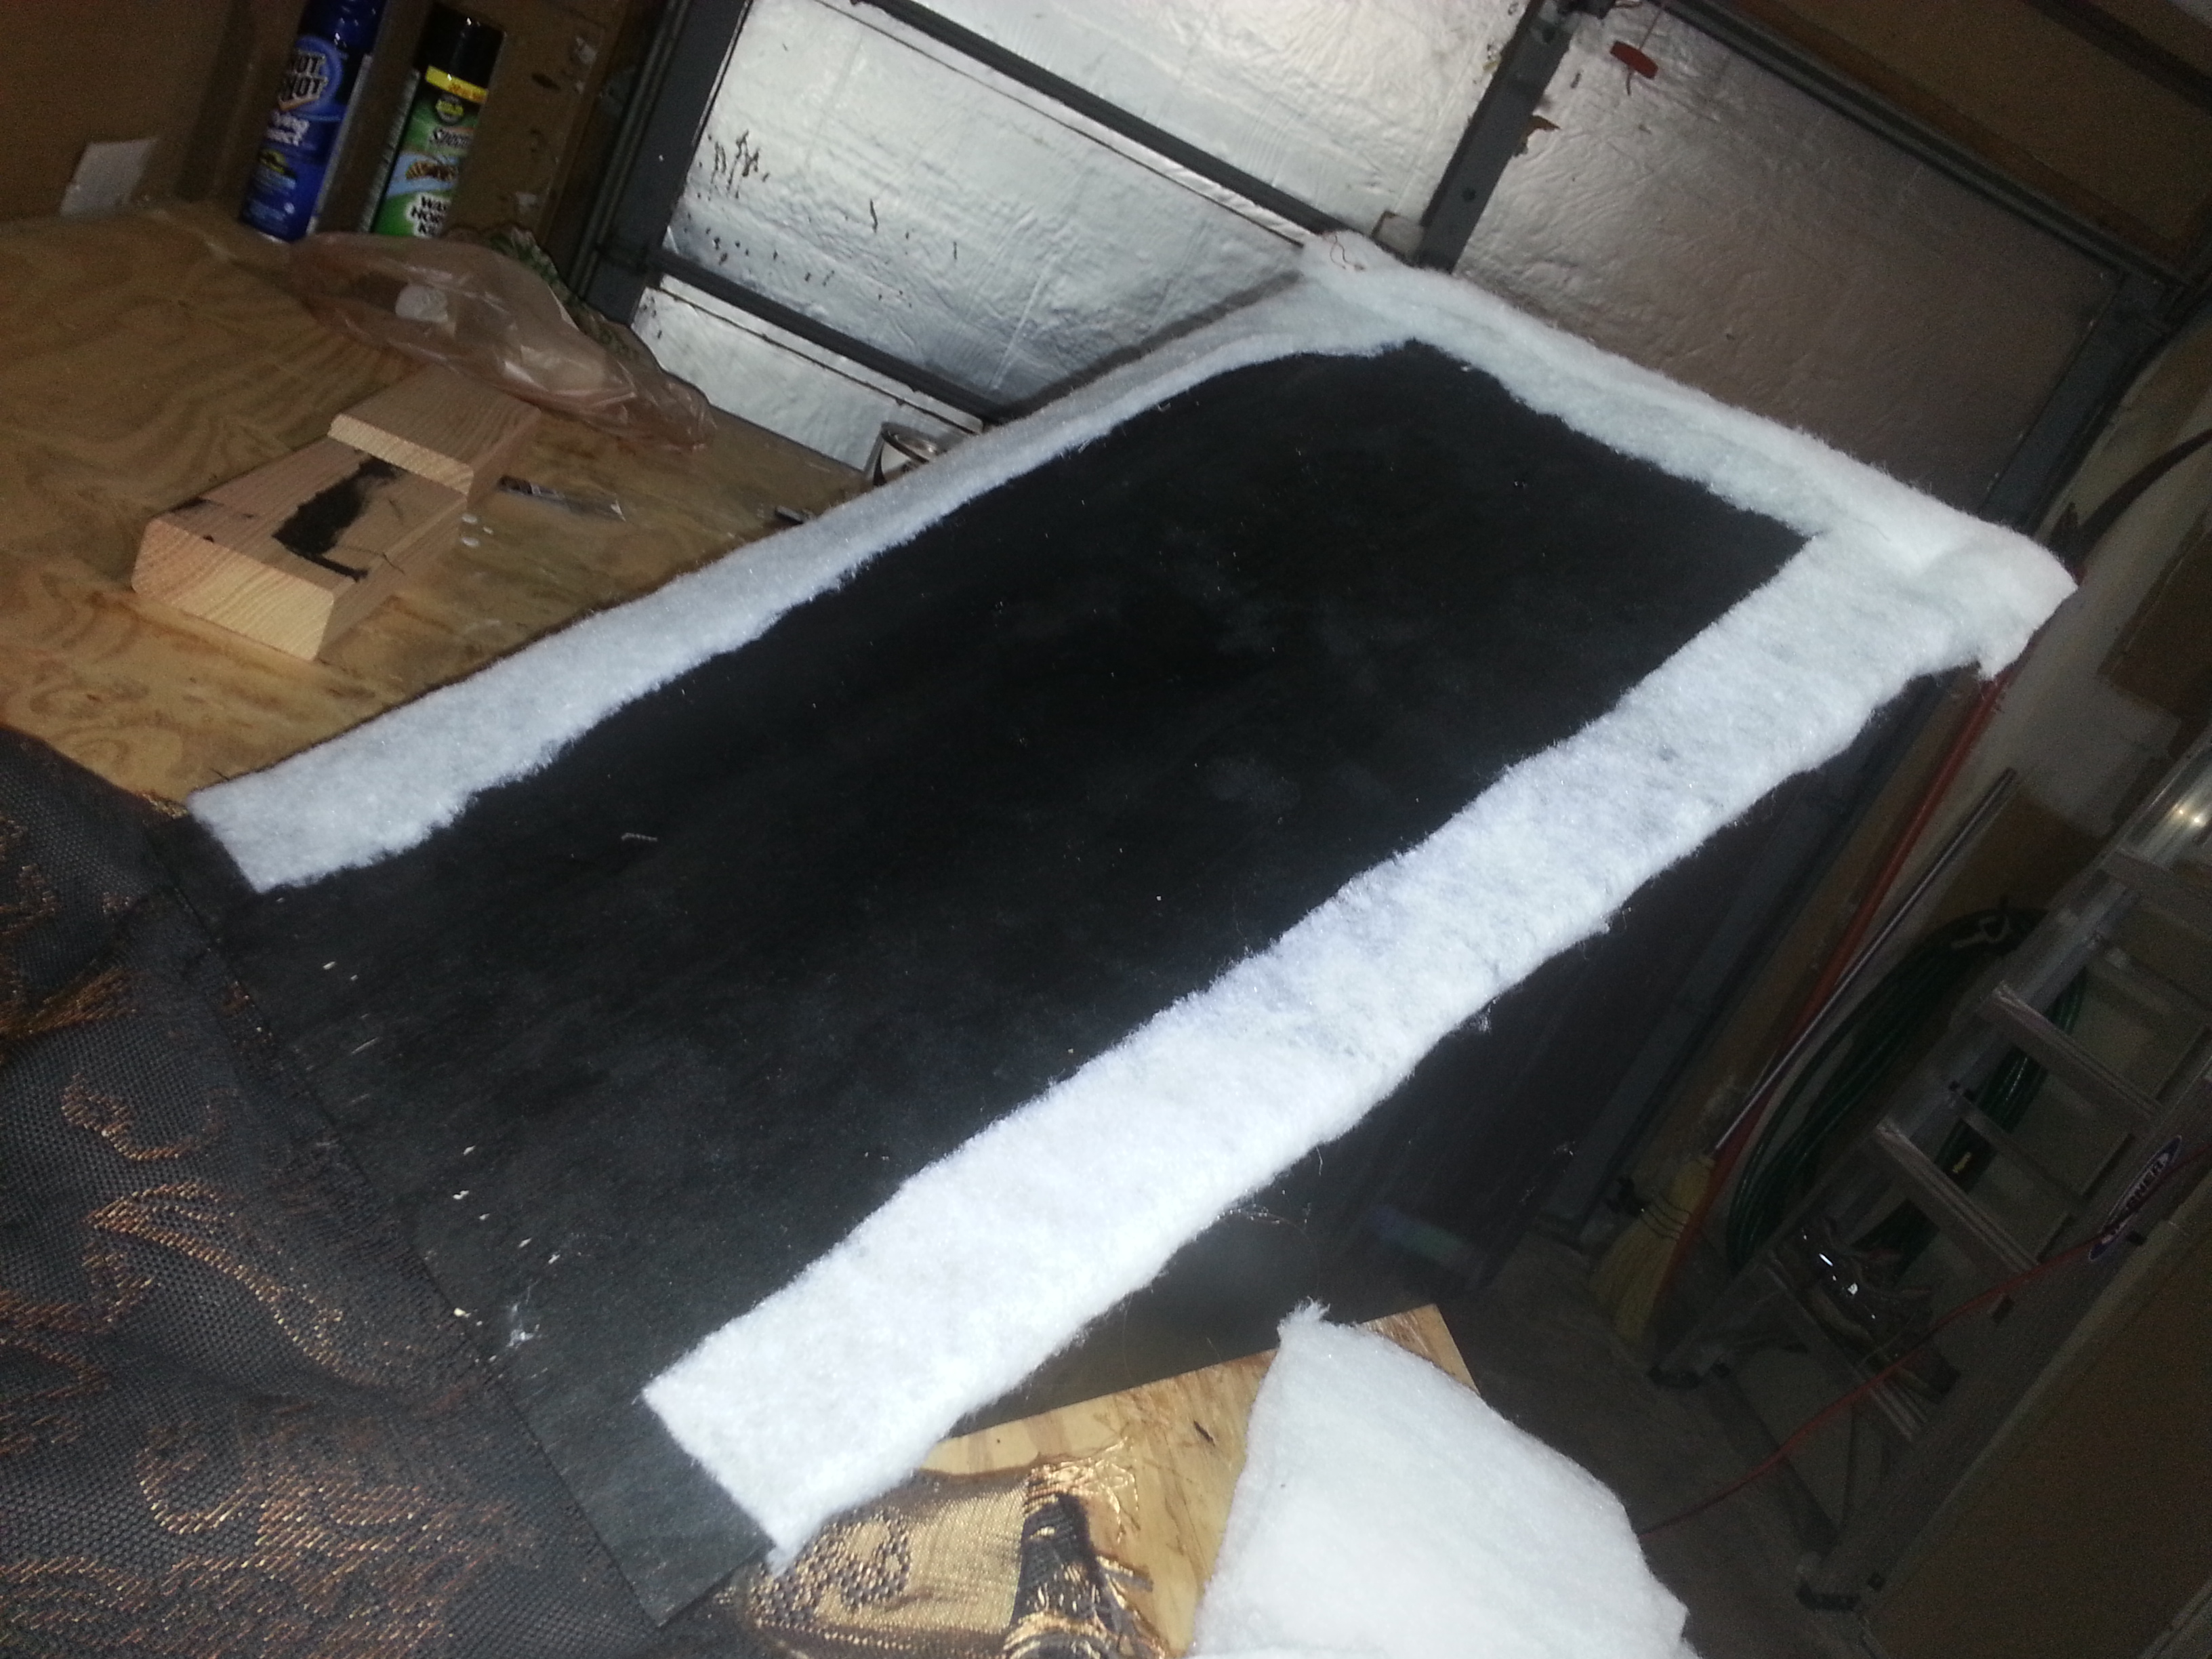
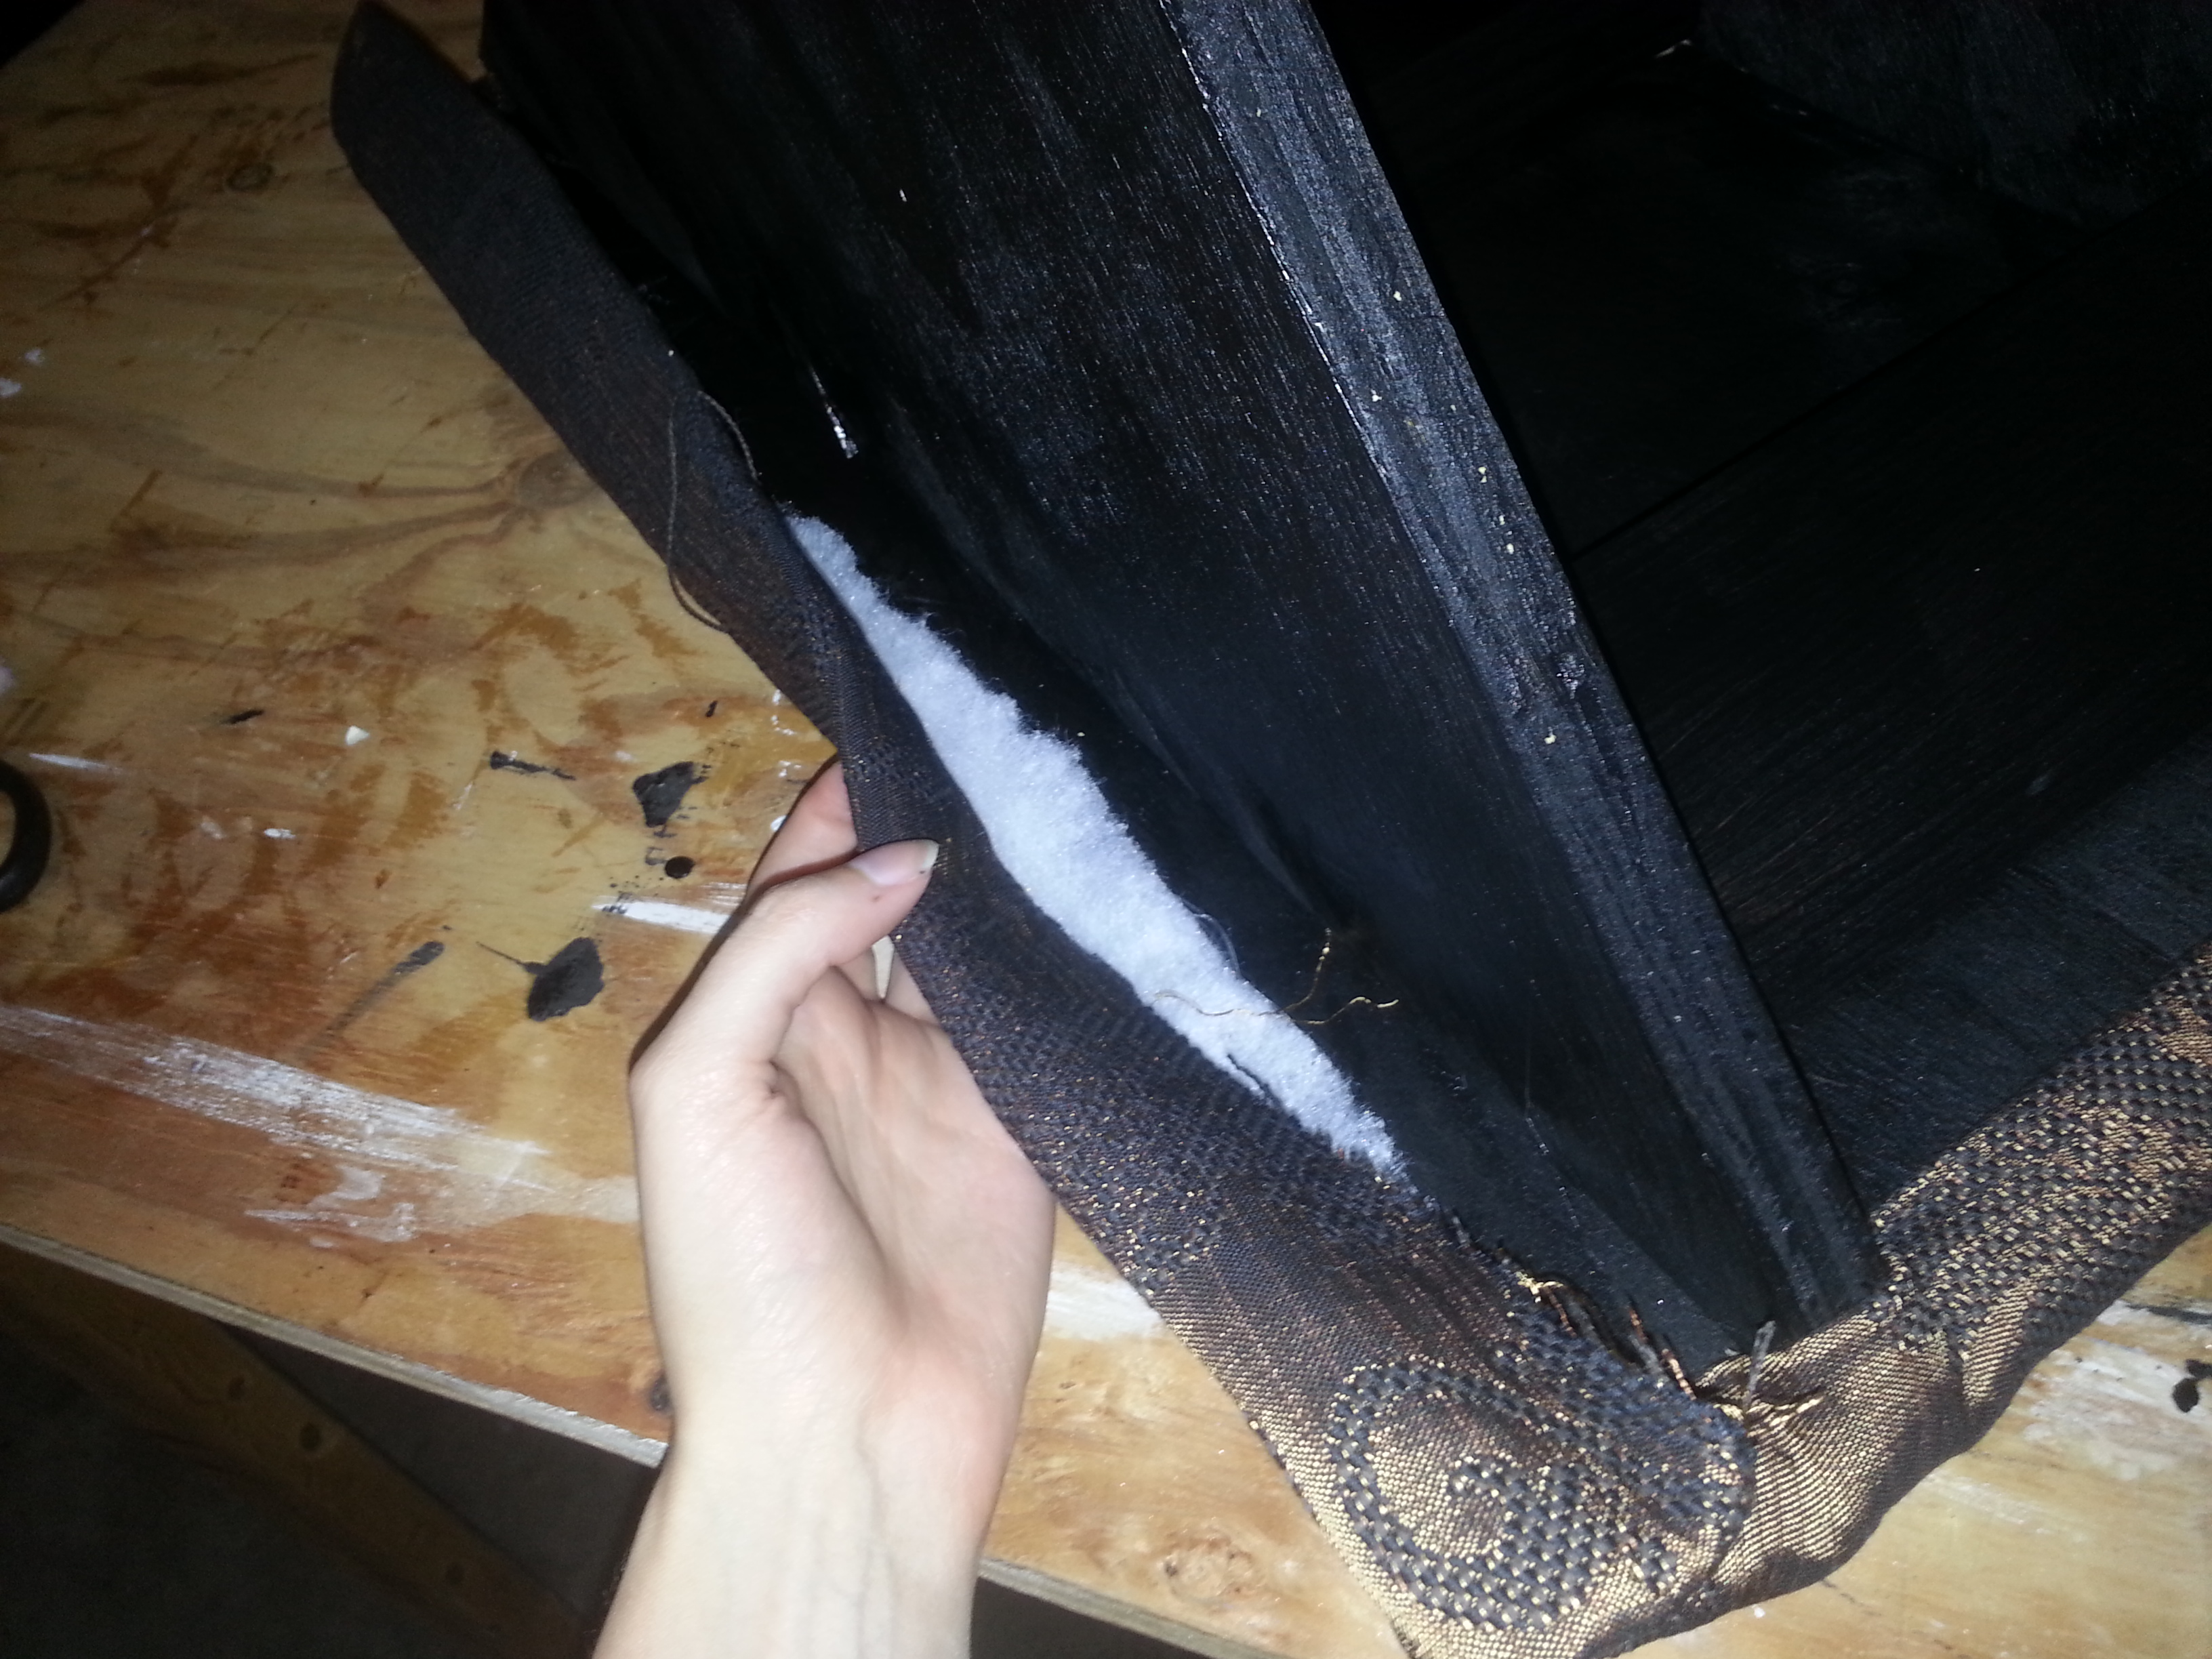
Step 2: Put batting around the ramp edges. Cut the batting into strips and glue them around the edges of the ramp using the glue gun. There is no need to wrap batting around the bottom edges. The batting needs to be held in place until the glue hardens. This can lead to burns, but your skin isn’t THAT important.


Step 3 – Apply fiberfill to the entire top surface of the ramp. Fiberfill generally is in a sheet-like formation when its put into the package; if you can take it out without destroying this formation, then you can use the sheet form its already in. Glue the fiberfill to the flat surface of the ramp. Then rip off any excess along the edges. I should probably throw in here that hot glue isn’t the only thing that’s going to hold the padding in place; its just holding it there during the process.
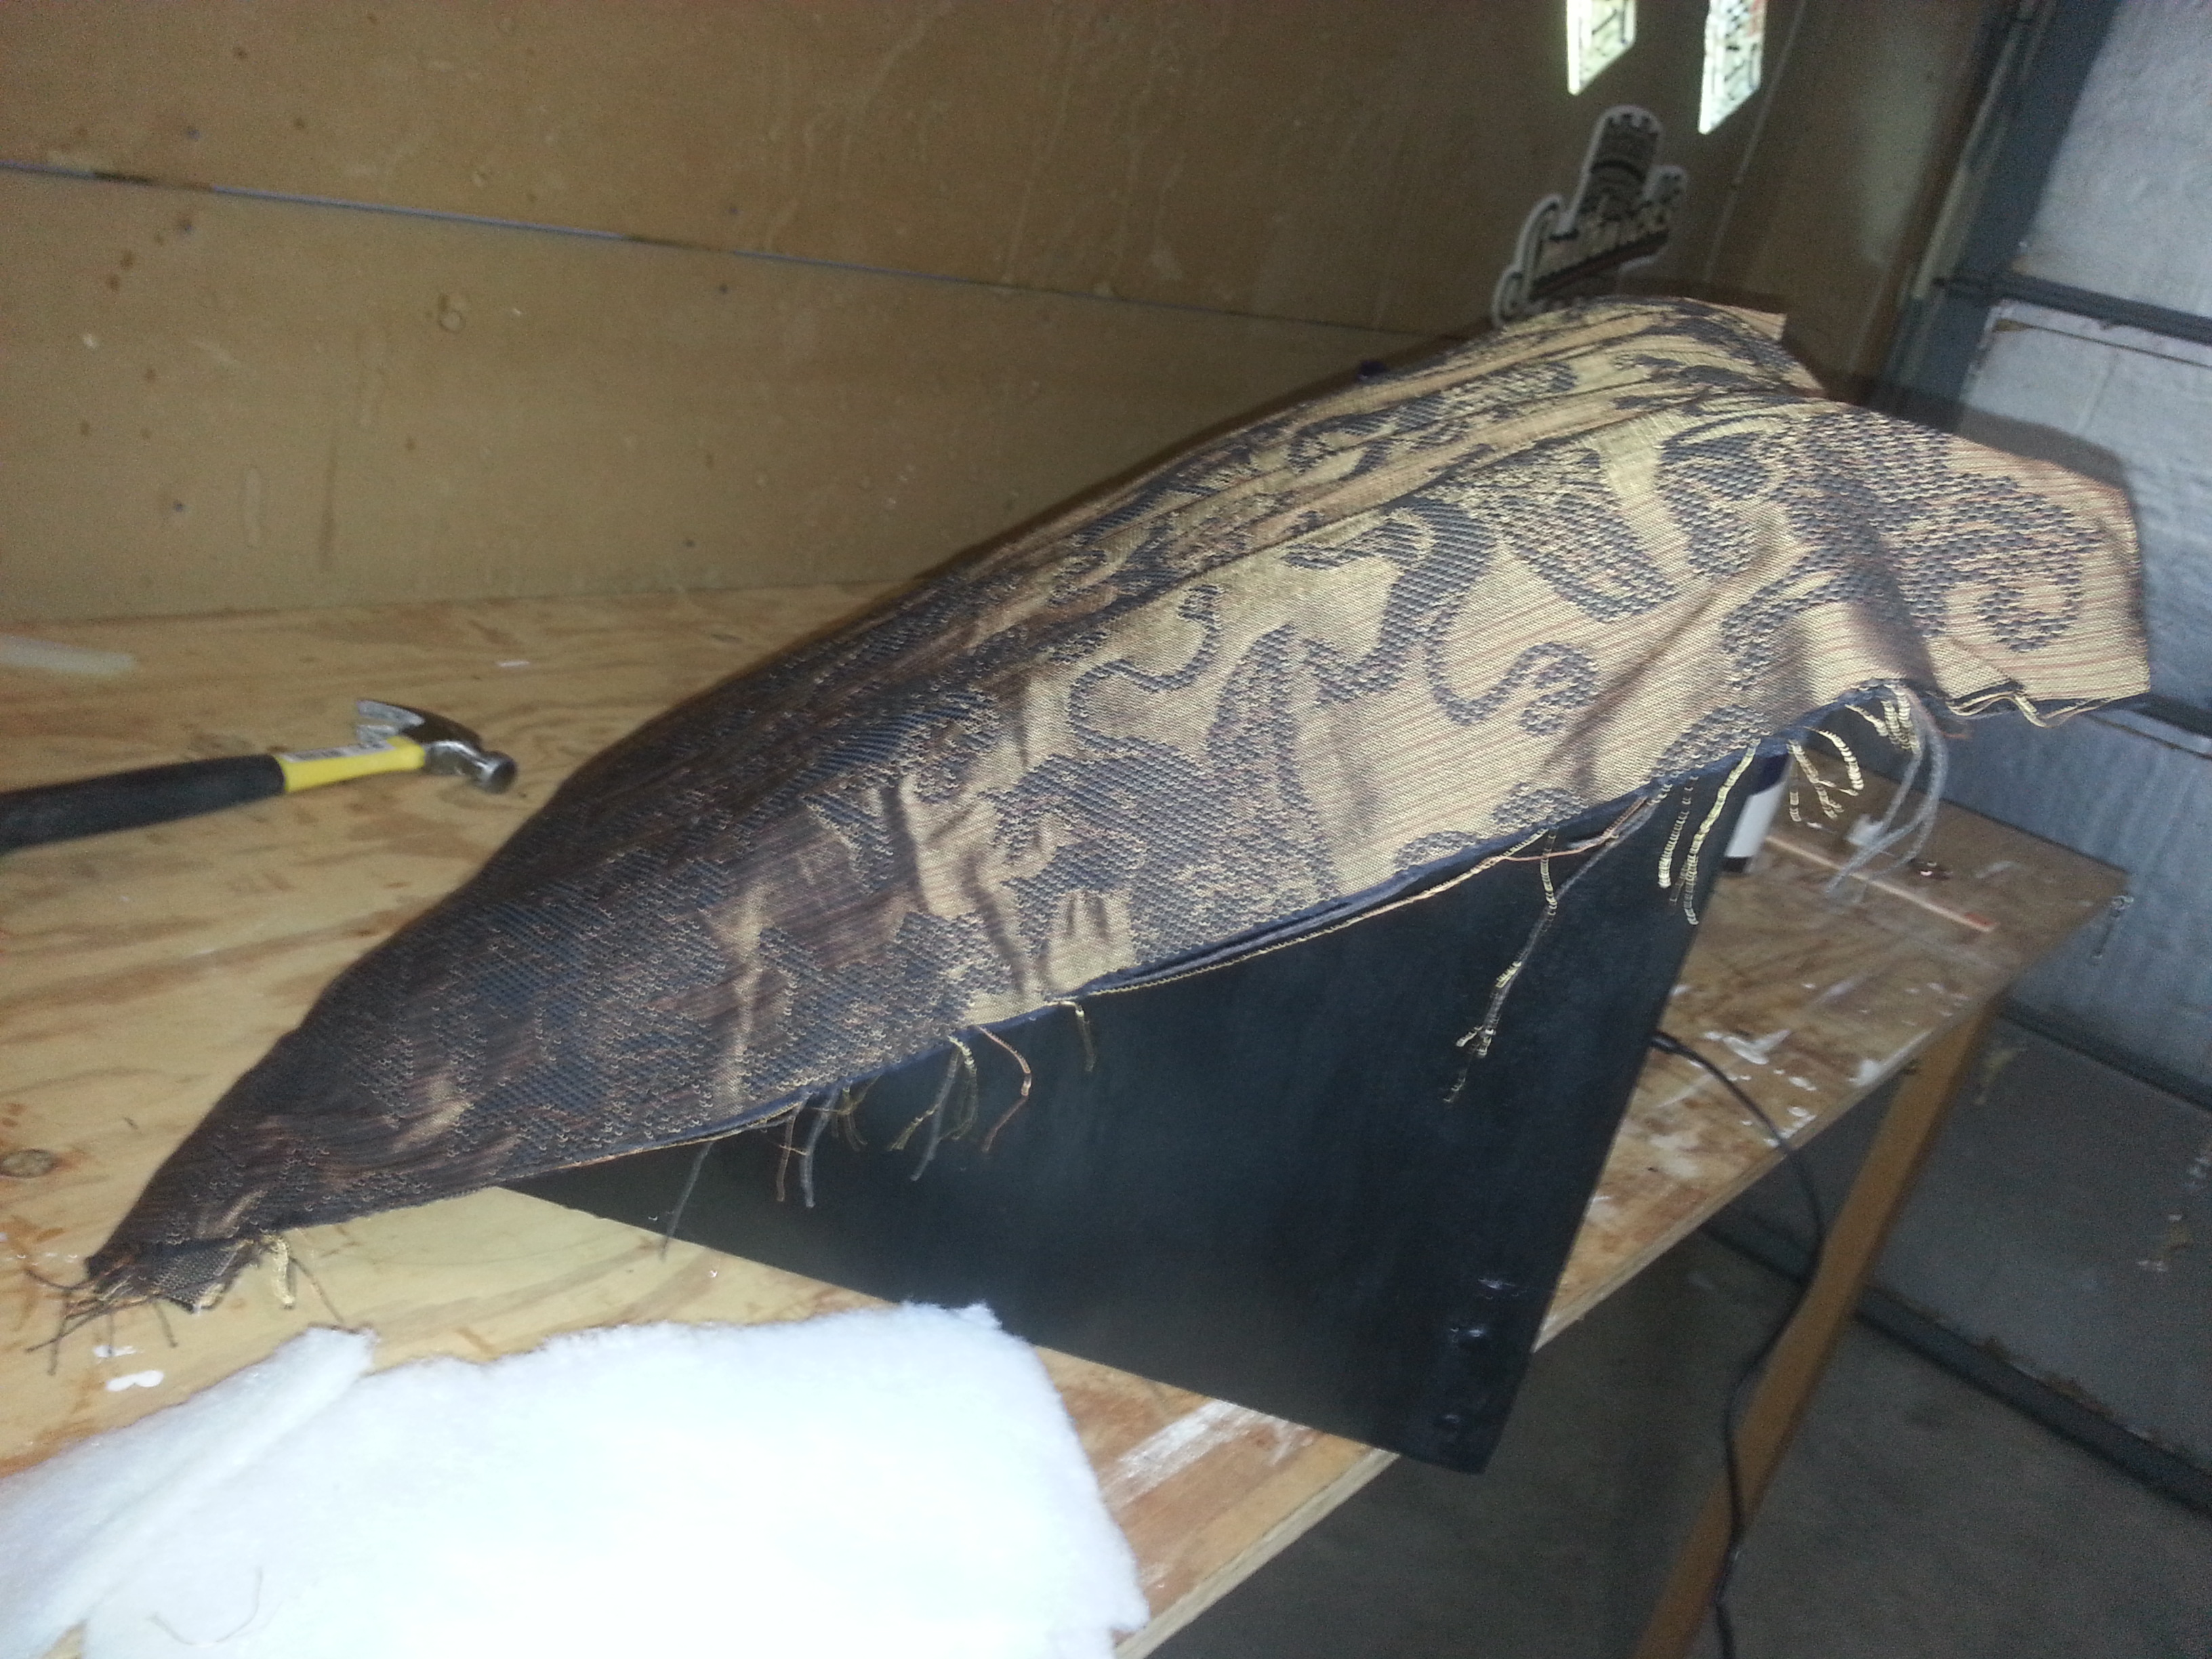

Step 4 – Stretch the fabric over the top surface of the ramp and pull it tight.


Step 5 – Attach the fabric to the ramp’s top edge. Flip the ramp over, keeping the fabric stretched tight. Fold the fabric at the top over, then fold it over again and staple to the top edge. Make sure the fabric covers the batting and staple the shit out of it.


Step 6 – Attach the fabric on the sides. Fold the side edge, fold it again, and staple the shit out of it. The corners will probably need to be fudged to keep the fabric from poking out – I did this by pulling the folded over top edge waaayy over before making the initial fold on the side. At any rate, staple the shit out of it.


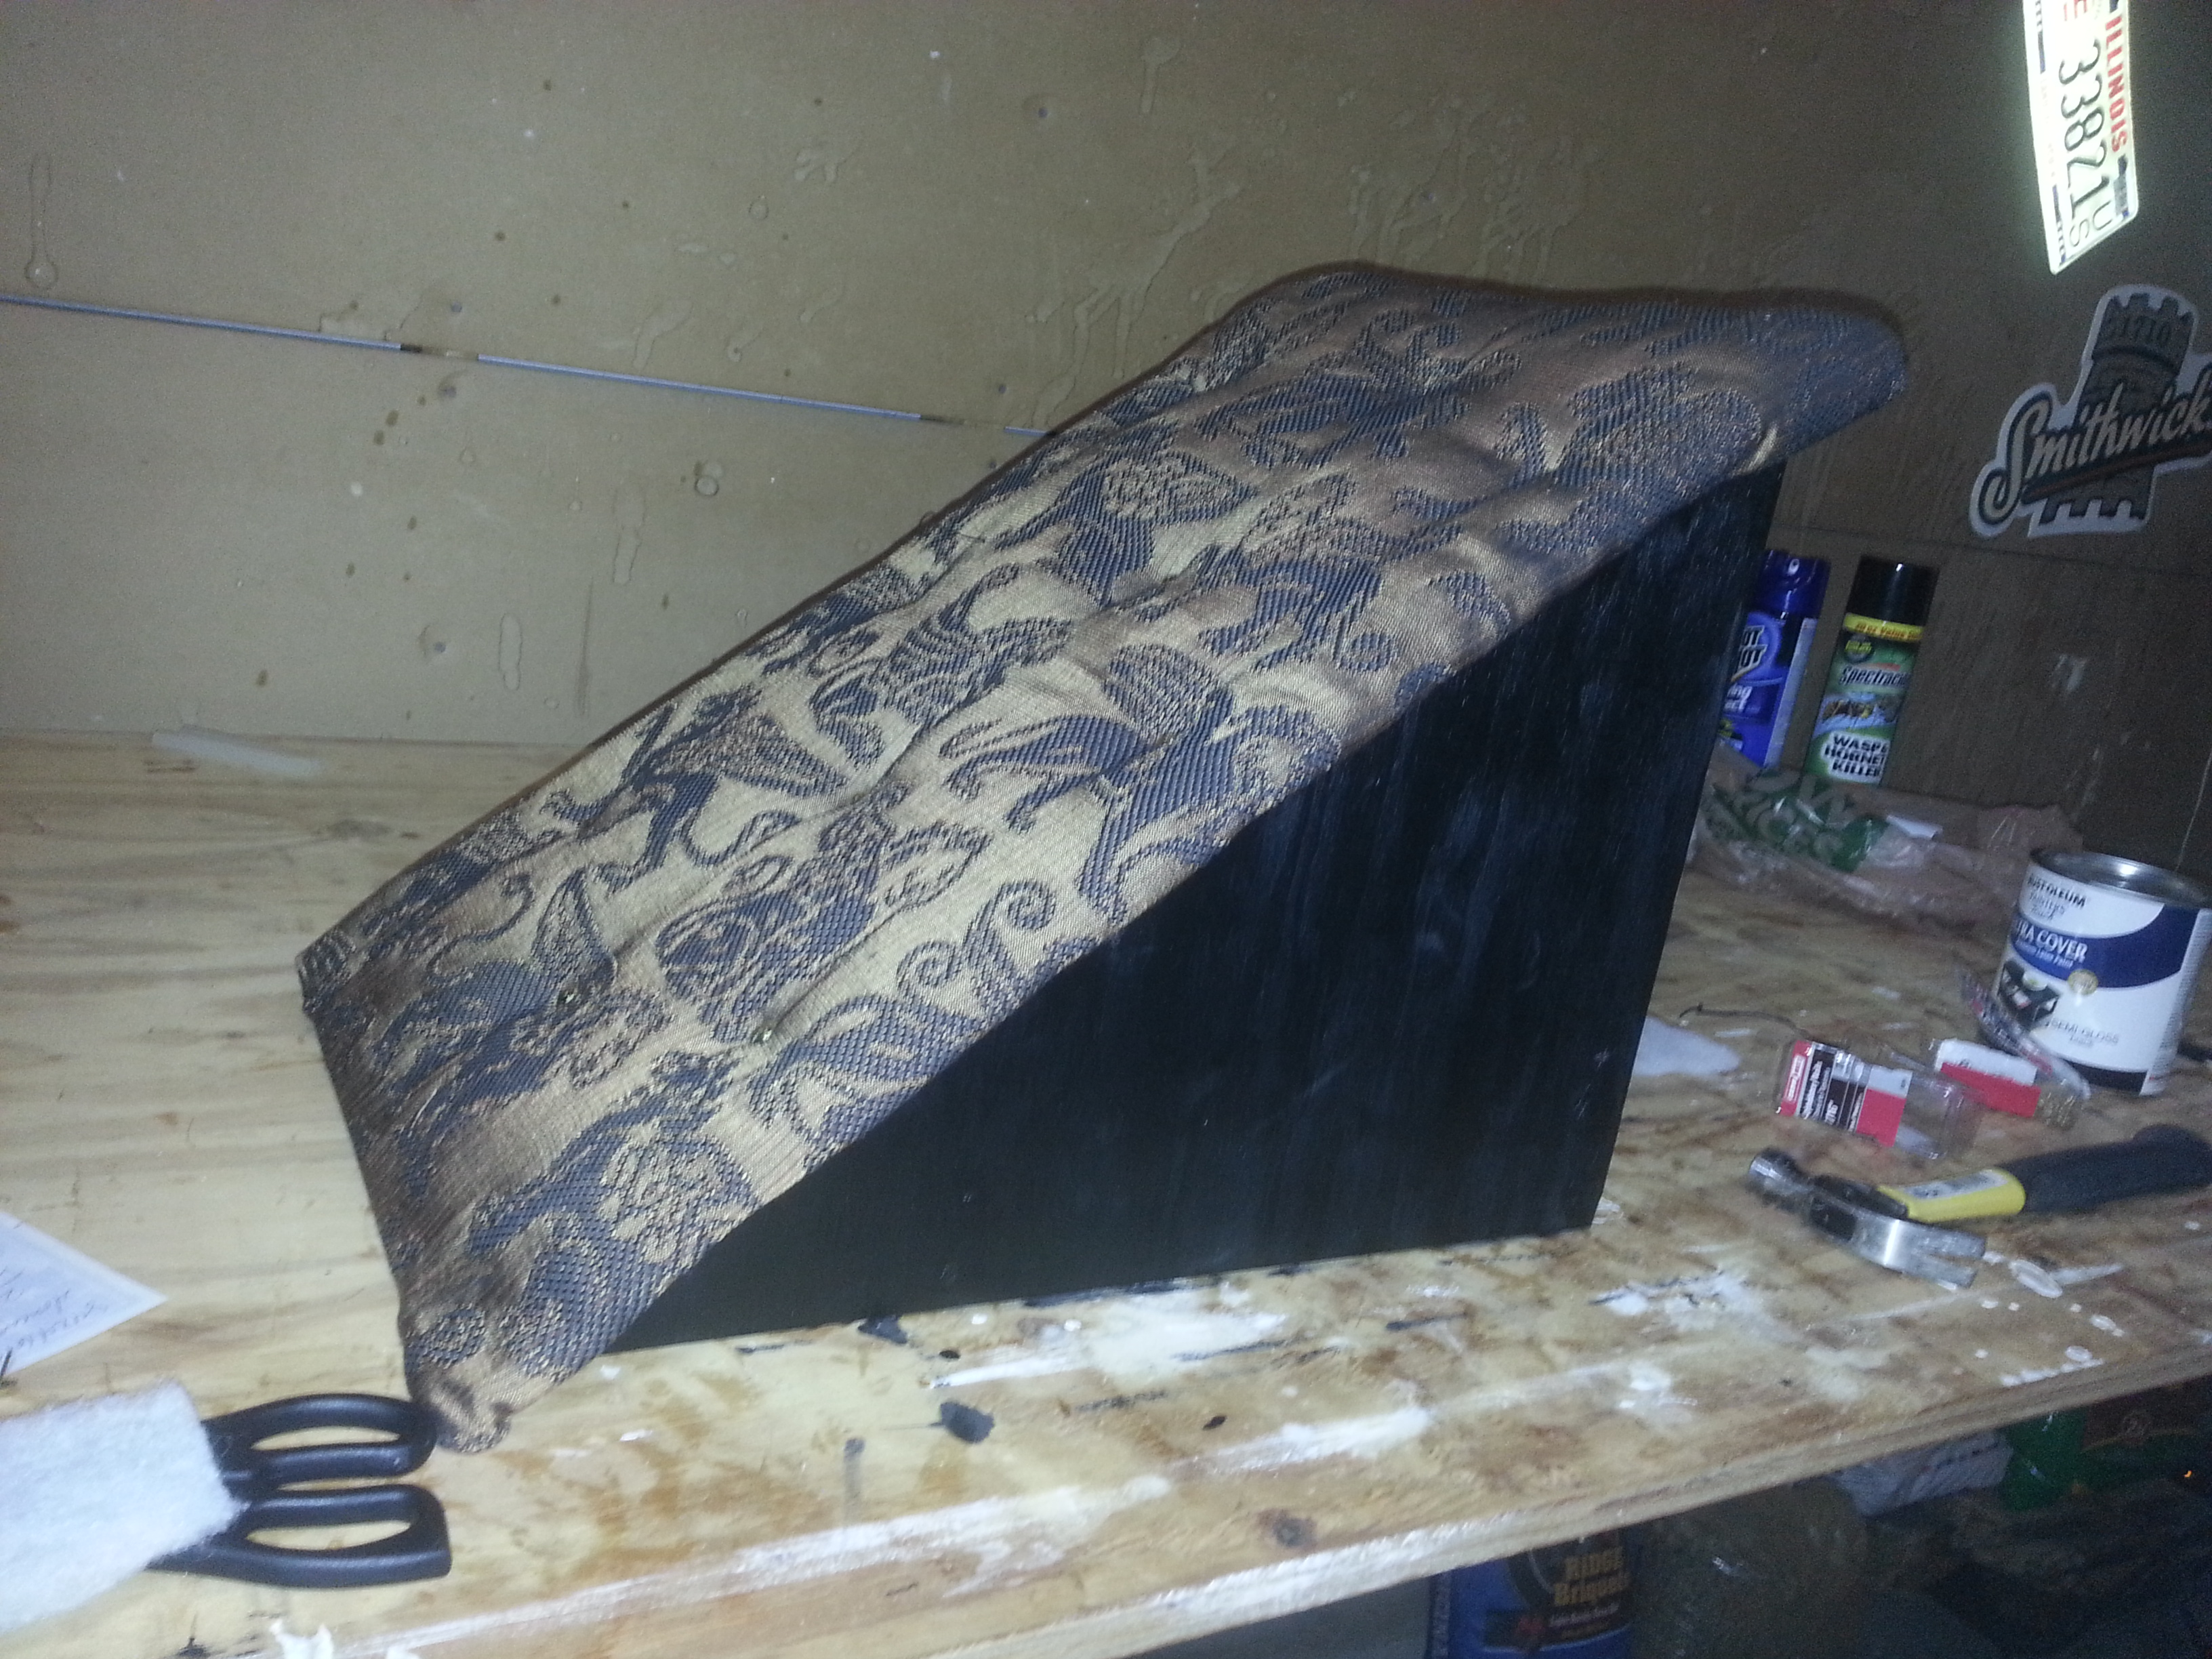
Step 7 – Put in upholstery tacks. These can be spaced several different ways; it might be helpful to decide how you want them positioned before you start tapping them in. I didn’t measure. One thing I learned in fashion design school: you don’t want it to be straight, you want it to look straight. My cuts in the wood weren’t precise, so the ramp wasn’t necessarily 100% square. So I decided to eyeball instead of measure. I also tried to get as many of the tacks as possible to rest in the braces of the ramp beneath the top surface.
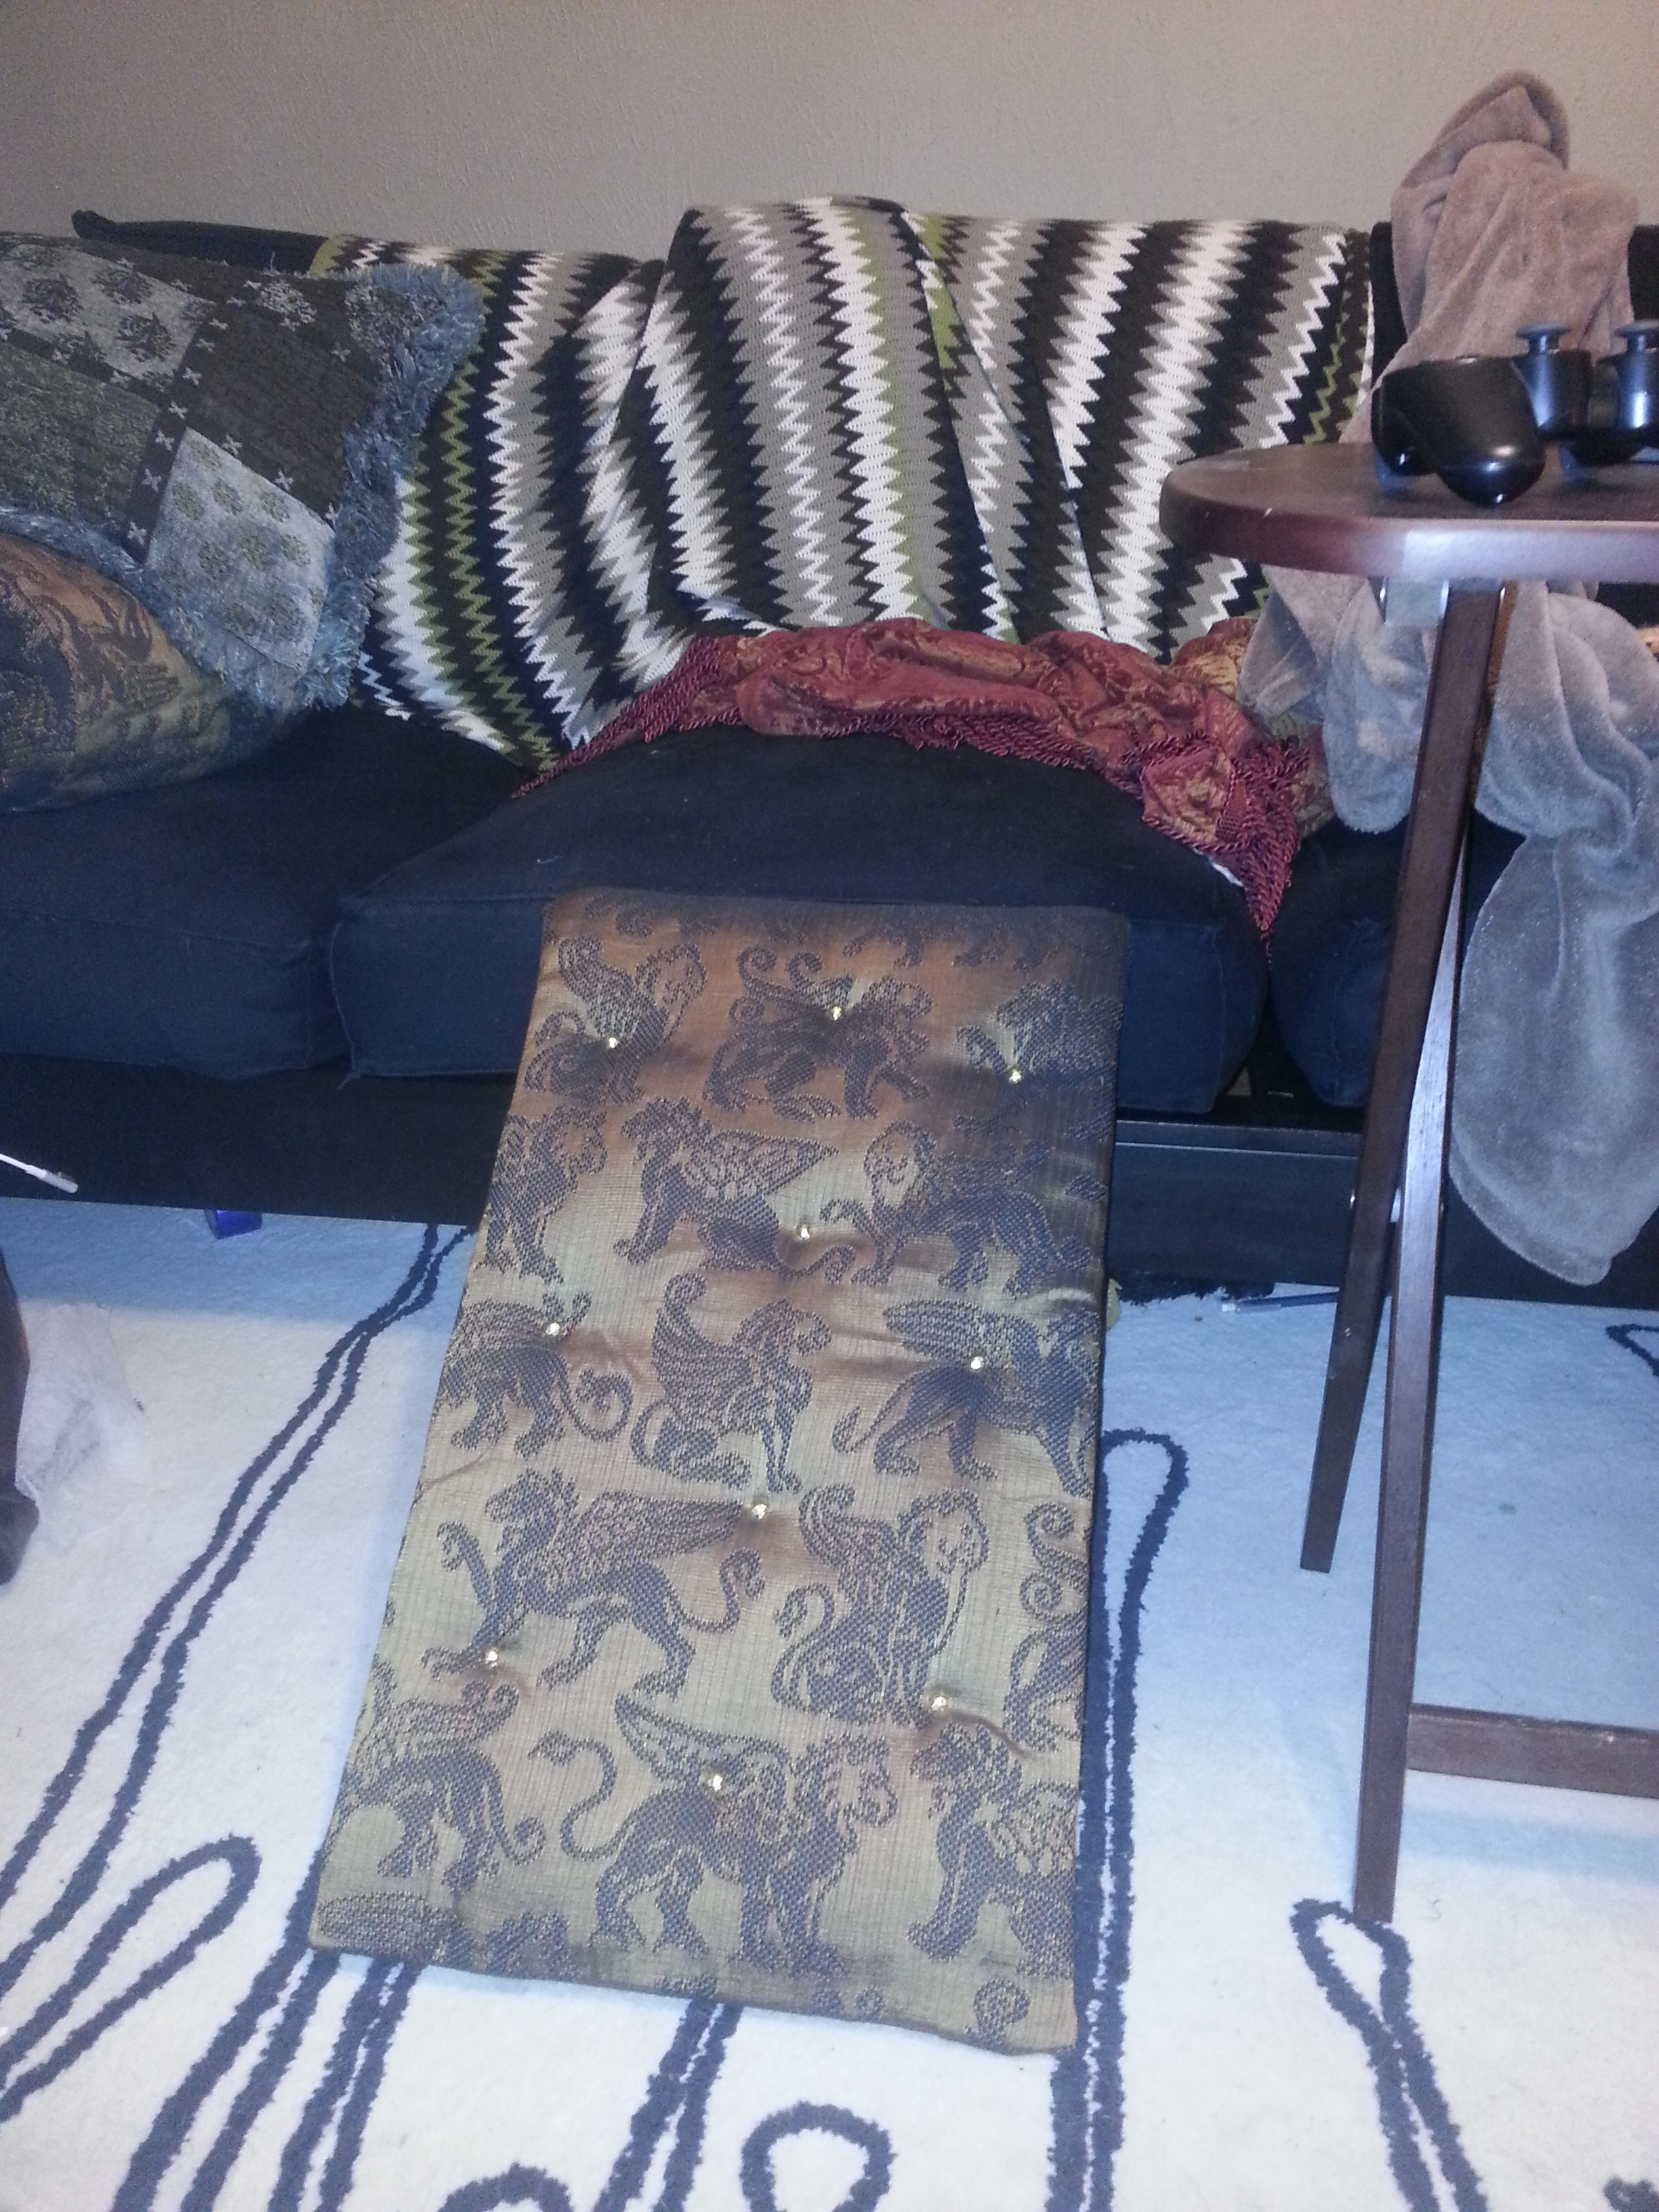
Step 8 – Train wiener dog to use the ramp to get on and off the couch. I am still on this step; she somewhat reliably uses it to get up, but still prefers to jump down. We’re working on it.
I said before that I would address my mistake… I made the ramp at slightly too high of an angle. Meeka is still fairly athletic and can get up it, but if she was older, she would probably have trouble. I also think it might be easier to get her to use it if it were a lower angle. I may redo it the next time I feel particularly ambitious. If I get the measurements right, I might post plans.

Hey, the finished product looks great! I was wondering what you were going to do with that griffin fabric. 😀 Meeka sure is spoiled! ^_^
Cool looking ramp!